01
Download the ISO
The installer is one image, CaptainPBX-iso-v1.0.0.20261105120958.iso, about 2 GB. It includes the operating system, the control plane, and the media engine. The button starts the download.
Download the ISO
Getting started
Boot the ISO. Finish the wizard. Sign in as yourself.
CaptainPBX arrives as an installer. Bring the appliance up, then make it yours in the setup wizard. Full guides are still being written — this page is the path from download to first sign-in.
Bring it up
These three steps get CaptainPBX onto a machine and the UI open in a browser. Nothing about your organization is chosen yet.
01
The installer is one image, CaptainPBX-iso-v1.0.0.20261105120958.iso, about 2 GB. It includes the operating system, the control plane, and the media engine. The button starts the download.
Download the ISO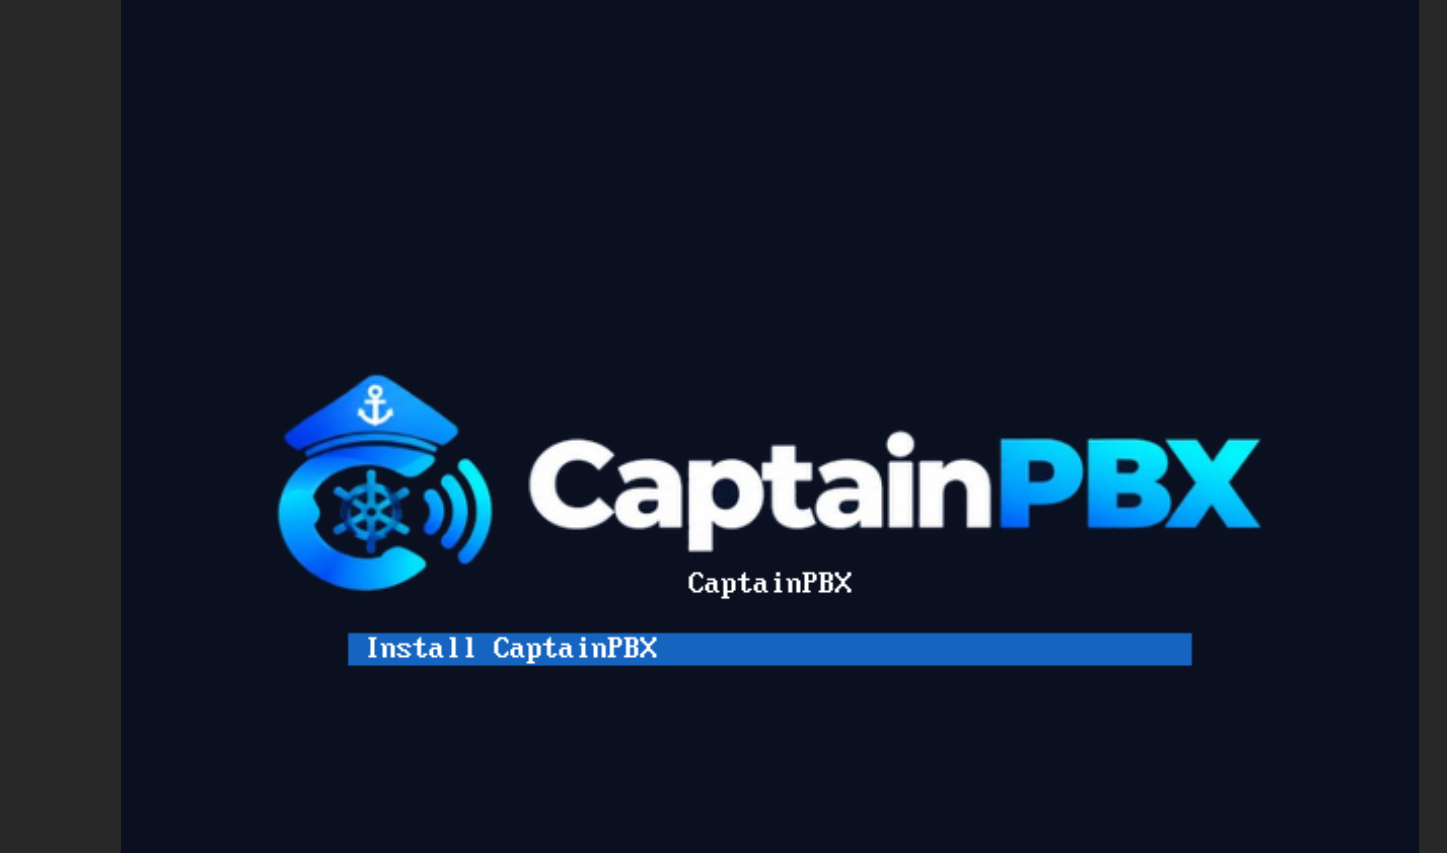
02
Use a new virtual machine, or a disk you are willing to install onto. Give it at least 4 GiB of memory and 20 GiB of disk, and confirm it is a 64-bit guest if the host asks.
03
When first boot finishes, CaptainPBX is listening on the machine's address.
These passwords exist only until the wizard replaces the web login. The console password is separate and is not changed by the wizard.
Configure it
The wizard collects answers first. Nothing is written until the last screen, which applies them in one pass.
04
Walk the screens in order. You can go back and change an answer until you apply.
On the last screen, apply configuration. CaptainPBX saves the language and timezone, creates the administrator, applies Captain Shield, creates the organization and any extensions, then runs Sync & Apply so the media engine matches. Leave the page open. Each line shows working, done, or failed. When the administrator exists, you are signed out and returned to the login page.
Use it
05
Use the username and password from the wizard. The factory web login no longer works. From here the platform is yours: the organization you created, people and extensions, trunks when you are ready to place a call, and the rest of the menu.
If a wizard step failed, sign in anyway and open that area. A failed step does not block the new administrator once that account exists. Captain Shield's country list can keep loading in the background after the allow list is already in place.
Guides
This page covers install and first-time setup. Deeper guides for trunks, extensions, the portal, and day-to-day administration are still being written. Until they are published, use this path to get running, and send questions or gaps to the project.
Report a gap on GitHubDetach the disc, finish the wizard, and sign in with the account you created.